
Last updated November 2, 2026
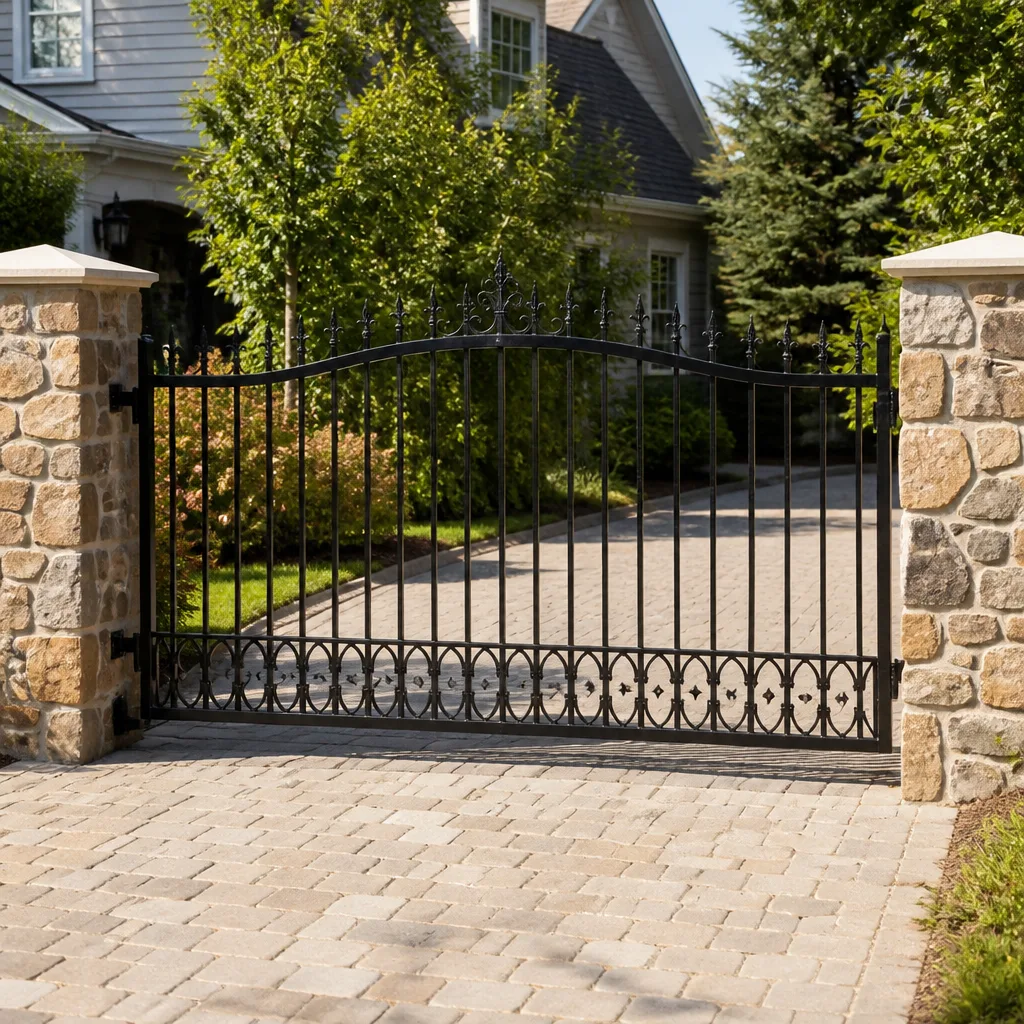 Wrought iron
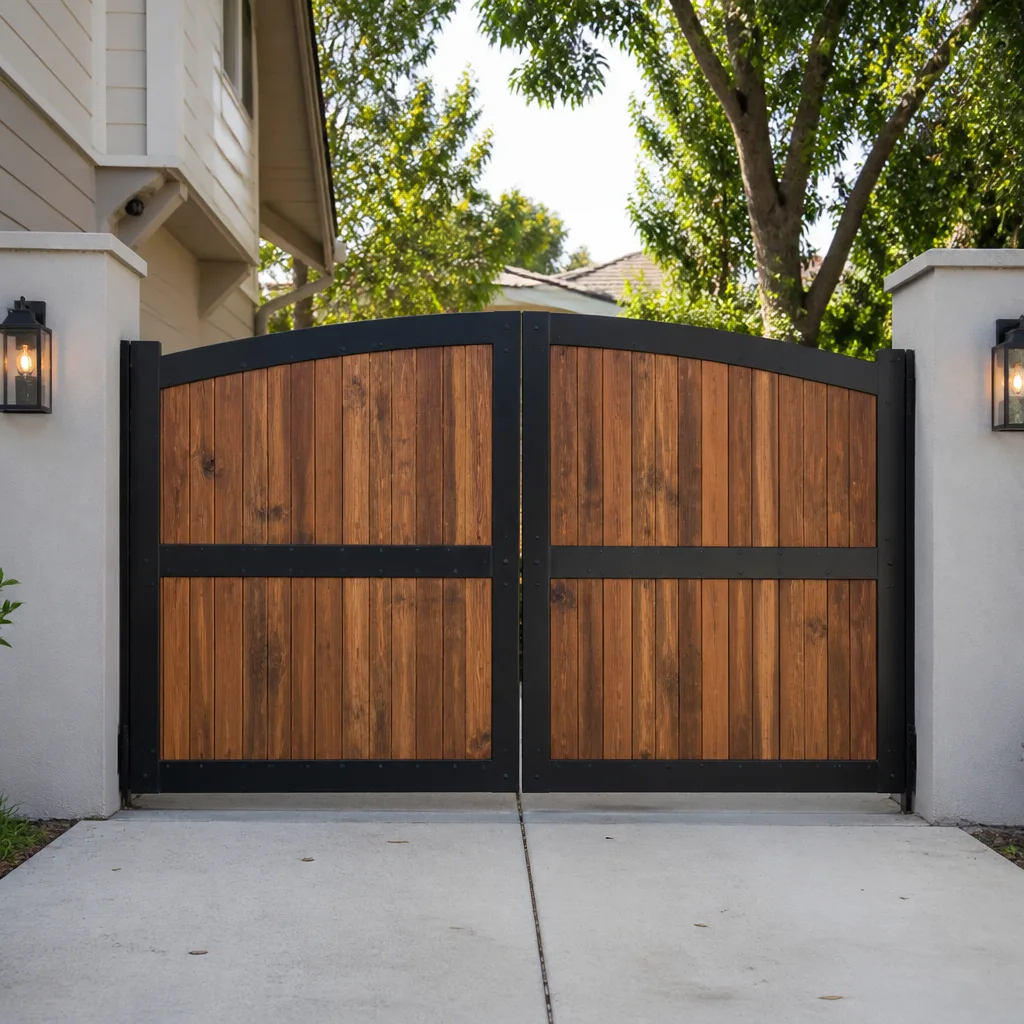 Wood & steel frame
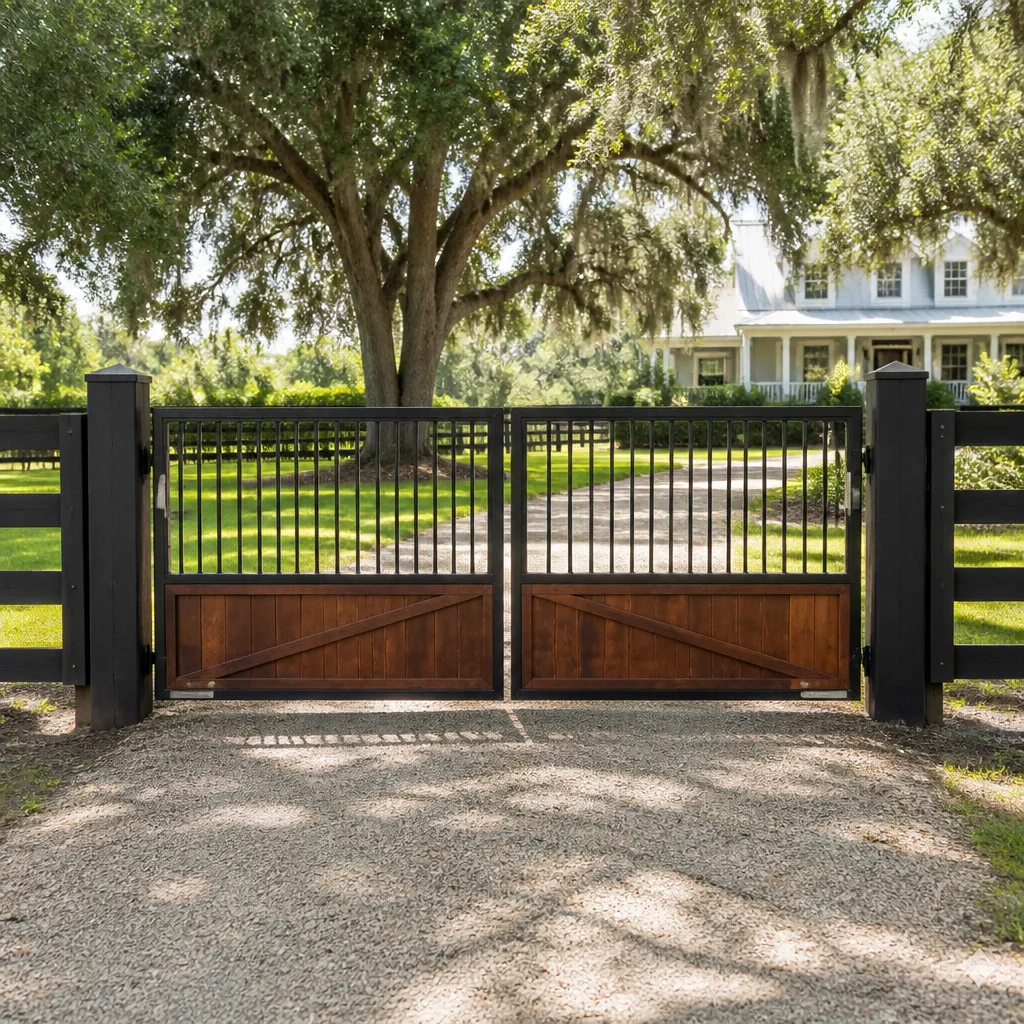 Farm & ranch
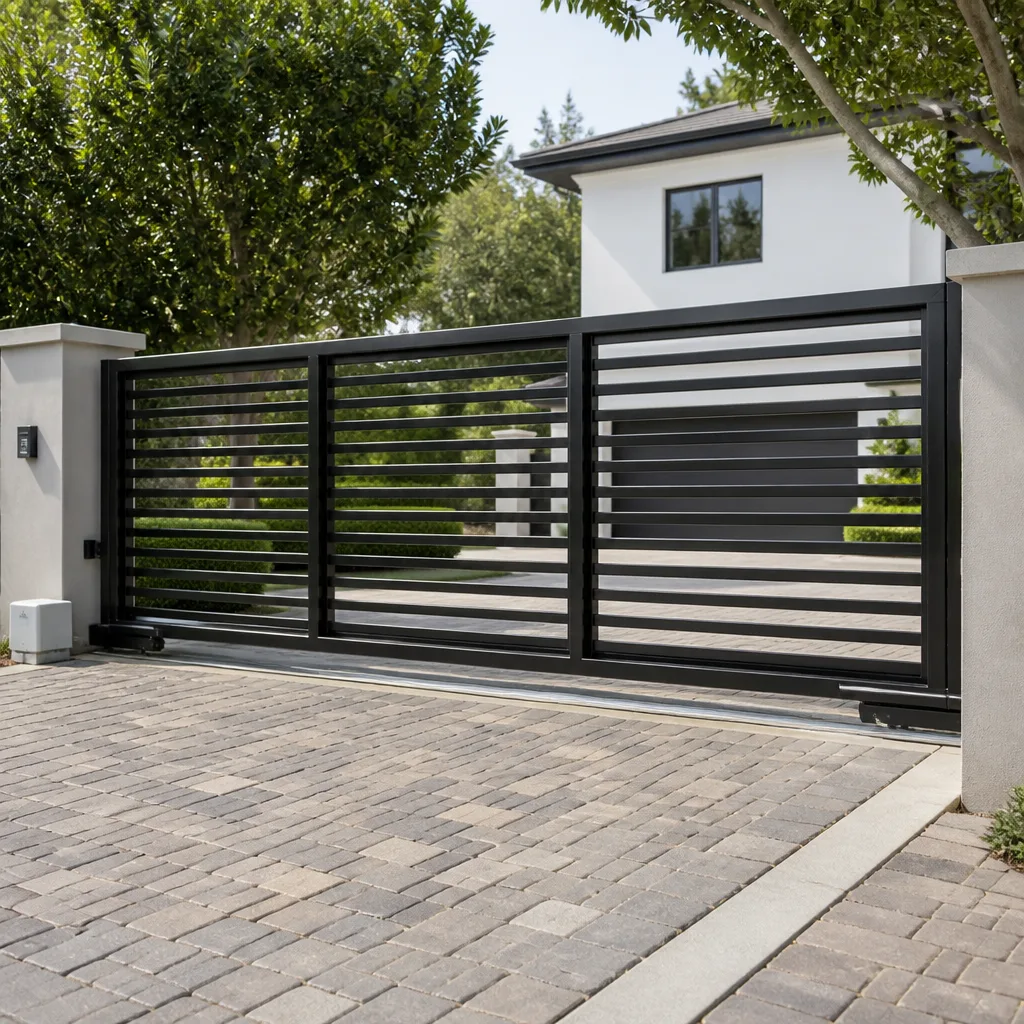 Sliding driveway gates
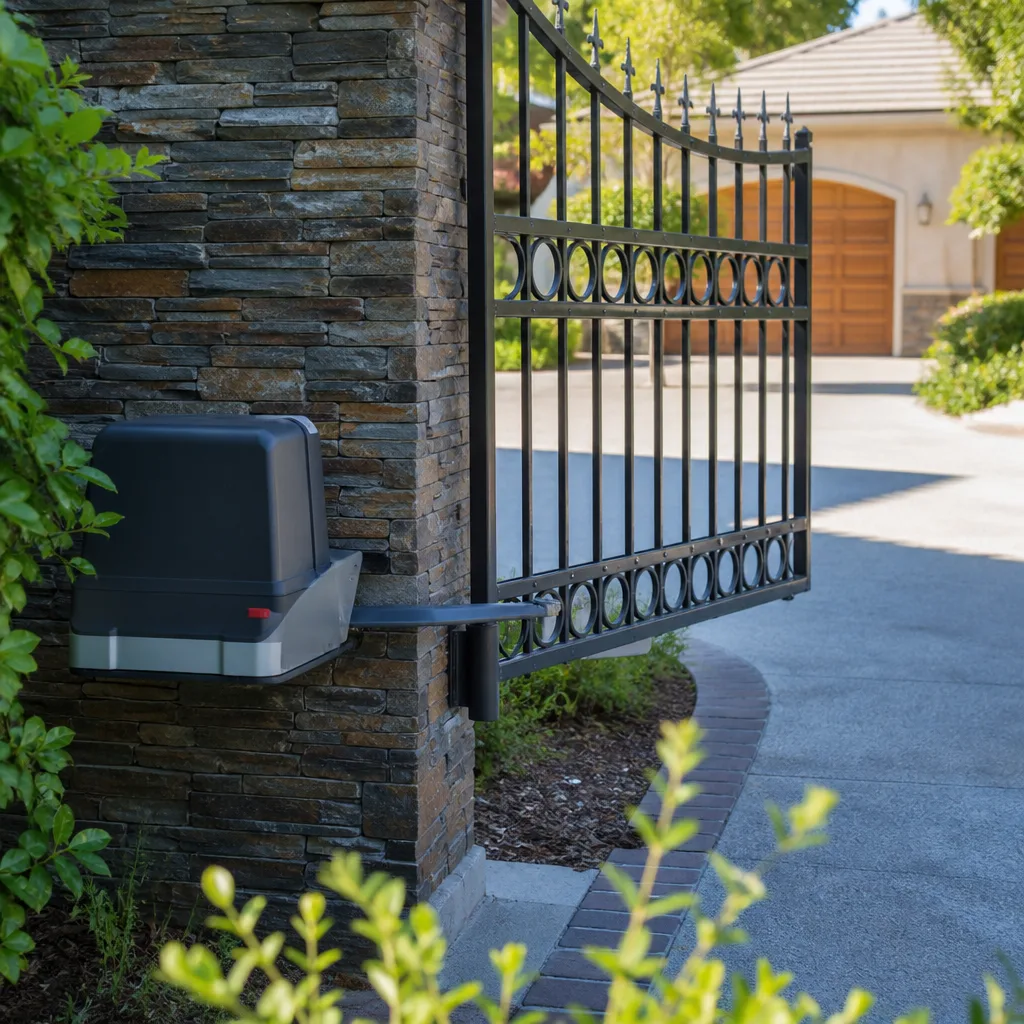 LiftMaster operators
Free on-site gate assessment - hinges, posts, and your LiftMaster or Nice gate operator checked before anything is quoted
The assessment is free and the quote is the invoice.
Get your free estimateGate Repair Maintenance Checklist for Pleasanton Homeowners
Lubricating hinges sits at the top of nearly every gate maintenance list you’ll find online. It’s also, in our experience, one of the last things that actually causes a failure. The parts that genuinely break first on Pleasanton residential gates – limit switches, battery backup systems, and loop detector sensitivity – rarely appear on the homeowner checklist at all. That gap between what’s commonly recommended and what actually fails is why gates that were “just maintained” still stop working. This guide reorders maintenance by failure probability, not alphabetical convenience, so you spend your time on the items that prevent the 80% of breakdowns we see across Pleasanton neighborhoods. For more detailed help, see our Gate Repair Troubleshooting: Common Problems and How to Fix Them.
Styles & brands we work with
- Wrought iron
- Wood & steel frame
- Farm & ranch
- Sliding driveway gates
- LiftMaster operators
Quick Answer
A gate maintenance checklist for Pleasanton homeowners should be sequenced by what fails most often, not by what’s easiest to inspect. The critical items, in order, are: limit switch function, battery backup health, loop detector sensitivity, chain or belt tension, hinge and pivot wear, and finally cosmetic lubrication. Following this order catches the failures that actually strand your gate before they become a service call.
Table of Contents
- Why Failure Probability, Not Convenience, Should Order Your Checklist
- 1. Limit Switches: The Part That Fails First
- 2. Battery Backup: The Most Skipped Test on Every Pleasanton Checklist
- 3. Loop Detector Sensitivity: Stop Ghost-Triggering Before It Starts
- 4. Chain and Belt Tension: Pass/Fail Criteria You Can Check Yourself
- 5. Hinge and Pivot Wear: What Play Is Acceptable
- 6. Lubrication: Last, Because It’s Least Likely to Fail
- The 12-Month Maintenance Log: A Printable Format
- Common Mistakes to Avoid
- When to Call a Professional
- Frequently Asked Questions
- The Bottom Line
Why Failure Probability, Not Convenience, Should Order Your Checklist
Most maintenance guides are written for readability, not for what actually happens in the field. They group items by category: lubricate everything, check all the bolts, test the remotes. That structure feels organized but misses the point. A broken hinge pin announces itself with sagging and scraping. A failing limit switch announces itself by quietly allowing the motor to run past the stop point, overheating the system, and eventually burning out a component that costs hundreds to replace.
In Pleasanton, where summer temperatures routinely cross 90 degrees and the clay soil expands and contracts through wet winters and dry summers, gate hardware moves in ways that homeowners in coastal climates don’t experience. Posts shift. Chain tension changes as the gate’s weight redistributes. The cumulative effect is that components under constant load – limit switches, tension mechanisms, and battery charging circuits – fail before anything visibly wears out.
This checklist follows what we see on service calls across Pleasanton. It’s ordered by the failure sequence we’ve documented on LiftMaster, DoorKing, Mighty Mule, and Elite residential systems. When you work through it in order, you address the failure points that cause the most emergency calls first, and you do the cosmetic work last.
1. Limit Switches: The Part That Fails First
Limit switches tell your gate opener where “open” and “closed” are. When they work, the motor stops precisely at the right position every time. When they degrade, the motor keeps running for a half-second too long, or stops short, or slams the gate into the post. None of those outcomes are good, and all of them accelerate wear on the motor, chain, and brackets.
On older LiftMaster and DoorKing residential operators in Pleasanton, limit switches are mechanical: a physical contact that gets pushed by the traveling gate carriage. Over years, that contact wears down, bends slightly, or collects enough dirt that the signal becomes unreliable. Newer systems use magnetic or hall-effect sensors, which are more reliable but still fail when wiring gets chafed or connection points corrode.
Here’s how to check limit switch function on a sliding gate:
- Run the gate through a full open-and-close cycle using the wall button or keypad, not the remote.
- Watch the gate as it approaches the fully open position. Does the motor strain for a beat before stopping? That’s the limit switch failing to trigger.
- Listen at the closed position. A grinding noise or a visible bounce against the stop means the close limit isn’t engaging cleanly.
- Run the cycle three times. Intermittent limit switch failures are the most common, and a single clean cycle doesn’t rule out a problem.
If you catch a limit switch issue before it burns out a motor, the repair is typically a part replacement or adjustment, not a full opener swap. If you don’t catch it, the cost multiplies. This is the single highest-leverage maintenance check on the entire list, and it’s the one we recommend Pleasanton homeowners perform monthly.
2. Battery Backup: The Most Skipped Test on Every Pleasanton Checklist
Battery backup systems exist so your gate still operates during a power outage. Pleasanton gets its share of PG&E planned outages and heat-related grid stress, so the backup isn’t decorative – it’s the difference between your gate working and your gate being a two-hundred-pound paperweight at the worst possible time.
The problem is that battery backup systems fail silently. The gate runs fine on AC power, the homeowner never notices the battery is dead, and then the first real outage hits and the gate refuses to move. We’ve heard this exact story from homeowners in every Pleasanton neighborhood: “The gate never had a problem, and then the power went out and it just stopped.” The gate didn’t just stop. The battery stopped months earlier.
Here’s the test procedure we recommend, and it takes ten minutes:
- Find the battery. On most residential systems it’s in the control box or a separate weatherproof enclosure near the opener.
- Put the opener in manual or standby mode if your system has that option.
- Turn off the circuit breaker that feeds the gate opener. Do not unplug the unit – that leaves a live cord hanging, and it’s not how the system will actually lose power in a real outage.
- Wait thirty seconds, then attempt to cycle the gate using the wall button or keypad.
- If the gate moves at full speed and completes a full cycle, the battery is healthy. If it moves slowly, starts and stops, or doesn’t move at all, the battery needs replacement.
- Turn the breaker back on and confirm the system returns to normal operation.
Most battery backup batteries last three to five years in Pleasanton’s temperature swings. If you haven’t replaced yours in that window, it’s worth testing more frequently. The batteries are consumable, not permanent, and replacement is one of the most straightforward electric gate repair in Pleasanton jobs we do – far cheaper than the alternative of discovering a dead battery during an extended outage.
3. Loop Detector Sensitivity: Stop Ghost-Triggering Before It Starts
Loop detectors are the buried wire loops under your driveway that detect a vehicle and tell the gate to open automatically. When they work, you pull up, the gate opens, you drive through. When they’re out of adjustment, one of two things happens: the gate opens when nothing is there (ghost-triggering), or it ignores the car sitting directly on top of the loop.
Both failures are annoying, and both are usually sensitivity adjustments, not component failures. The detector box – typically a small module inside the gate control panel – has a sensitivity dial or digital setting that determines how much metal mass is needed to trigger a detection event. Set it too high and the gate opens for bicycles, joggers, or nearby vehicles. Set it too low and a small car won’t trip it at all.
Here’s the check procedure:
- Open the control box and locate the loop detector module. On DoorKing and Elite systems it’s usually a separate card or module with indicator LEDs.
- Note the current sensitivity setting. Most detectors have a scale of 1 to 10, or a rotary dial.
- Have a family member park a vehicle on the loop. Watch the detector’s detect LED. It should illuminate solidly and stay lit while the vehicle is on the loop.
- Ask them to move the vehicle off the loop. The LED should extinguish within a second or two.
- Walk to the edge of the loop area. The LED should not flicker when a person walks over the loop – if it does, sensitivity is too high.
Pleasanton’s clay soil retains moisture in winter and dries hard in summer, which changes the electrical characteristics of the loop over time. A sensitivity setting that worked in January may ghost-trigger in August or vice versa. Check it twice a year, and if you’re unsure what the dial should be set to, a gate repair in Pleasanton tech can calibrate it in one visit.
4. Chain and Belt Tension: Pass/Fail Criteria You Can Check Yourself
Chain and belt drives operate under constant tension. Too loose and the chain skips teeth on the sprocket, causing jerky movement and accelerated sprocket wear. Too tight and you’re putting unnecessary load on the motor bearings and shortening the opener’s life. The sweet spot is narrow, and it shifts as the gate settles and the hardware wears.
For chain-drive gates (common on older DoorKing and Elite residential installations), here are the pass/fail checks:
- Pass: The chain has no more than 1/4 inch of vertical deflection when you press down firmly with one finger at the midpoint between sprockets.
- Fail: The chain sags visibly without pressure, or you can lift it more than 1/2 inch with light finger pressure.
- Pass: The chain runs quietly with a consistent mechanical sound.
- Fail: You hear a rhythmic clicking or slapping sound during travel, which indicates slack or a damaged link.
For belt-drive gates (common on newer LiftMaster and Mighty Mule residential openers), the check is simpler:
- Pass: The belt has slight give when pressed but springs back immediately.
- Fail: The belt looks cracked, glazed, or has visible wear on the contact surface.
- Pass: The belt tracks straight and centered on the drive pulley.
- Fail: The belt rides to one edge or produces a squealing sound under load.
Adjusting chain tension usually requires loosening the motor mount bolts, moving the opener slightly, and re-torqueing. It’s a two-person job if you want to do it safely. For belt systems, tension is often adjusted with a spring-loaded idler or threaded tensioner. If you’re uncomfortable with either, this is a quick service call for a dedicated Gate Repair technician.
5. Hinge and Pivot Wear: What Play Is Acceptable
Gate hinges and pivot points take the full weight of the gate panel on every cycle, and they wear in a predictable pattern: the bottom hinge goes first, because it carries more load. When a bottom hinge wears, the gate sags. When it sags, the latch no longer aligns, the gate scrapes the ground or the post, and the opener has to work harder to move the same panel. That added strain is what pushes an older opener over the edge into motor failure.
Here’s the simple pass/fail test for hinge wear on a swing gate:
- With the gate in the closed position, grab the top of the gate panel at the latch end and try to lift it. You’re looking for vertical movement.
- Pass: Less than 1/8 inch of vertical play. The gate feels solid.
- Fail: More than 1/8 inch of play, or you can see the gate visibly shift upward at the latch end.
- Check the bottom hinge specifically. Look for an elongated bolt hole, a worn bushing, or visible metal-on-metal contact.
- On sliding gates, check the rollers and track. Worn rollers make a grinding sound and leave metal shavings or fine powder on the track.
Hinge replacement on a residential swing gate is straightforward when caught early: remove the pin, swap the hinge, re-hang. If it’s ignored long enough that the post loosens in the ground, the repair becomes concrete work, not gate work. In Pleasanton’s expansive clay soil, a slightly loose post in winter can become a significantly tilted post by summer, so this check matters year-round.
6. Lubrication: Last, Because It’s Least Likely to Fail
We’re putting lubrication sixth on purpose. Hinges, chains, and rollers do benefit from lubrication, and it should be part of your routine. But a dry hinge squeaks and still works. A failed limit switch strands your gate. The point of this checklist is to spend your maintenance time on the items that actually prevent breakdowns, and then do the lubrication when those are handled.
When you do lubricate, use the right product. WD-40 is a solvent, not a lubricant – it displaces moisture and then evaporates, leaving the metal dry again. What you want for gate hardware is a lithium-based grease for hinges and pivot points, and a light machine oil or dedicated chain lube for chains. On belt-drive systems, do not lubricate the belt at all; it’s designed to run dry, and lubricant attracts grit that will wear the belt surface.
The lubrication checklist:
- Hinges and pivot points: two to three drops of lithium grease on the pin or bearing surface, twice a year.
- Chains: apply chain lube sparingly to the inner link surfaces, then run the gate once to distribute. Wipe excess with a rag.
- Rollers and track (sliding gates): clean the track first with a stiff brush to remove debris, then apply a small amount of grease to the roller bearings only. Don’t grease the track surface.
- Belts: wipe clean with a dry cloth. No lubricant. Ever.
- Date: [Month and year]
- Limit switch test: Pass / Fail / Adjusted
- Battery backup test: Pass / Fail / Replaced (with date)
- Loop detector sensitivity: Pass / Fail / Calibrated
- Chain or belt tension: Pass / Fail / Tensioned
- Hinge and pivot wear: Pass / Fail / Repaired
- Lubrication performed: Yes / No / Partial
- Unusual behavior noted: [One sentence maximum – anything different from last month]
- Action taken or scheduled: [What you did, or who you called]
- Lubricating before testing. Lubrication makes a failing component quieter without fixing it. That masks the noise that would have told you the hinge or roller was on its way out. Test first, lubricate second.
- Unplugging the gate for a battery test instead of using the breaker. Unplugging leaves you testing a different electrical condition than a real outage. A breaker trip cuts power the way a PG&E outage does. Test that way.
- Ignoring a slight gate sag. A gate that scrapes the ground “just a little” is a hinge or post problem in progress. In Pleasanton’s clay soil, that little sag accelerates into a structural repair faster than most homeowners expect.
- Leaving a ghost-triggering gate on manual mode. Putting the gate in manual and forgetting the loop detector problem means the gate stays unautomated for months. It also means anyone can walk up and move the gate by hand – including someone you’d rather not have access.
- Replacing the remote batteries before checking the limit switch. When a gate won’t open, the remote is the first suspect for most homeowners. But a gate that doesn’t respond to the remote often responds fine to the wall button, which means the opener, not the transmitter, has the problem. Check the limit switch and control board before buying batteries.
- Treating the battery backup as permanent. Batteries are consumables. If yours is more than five years old and you haven’t tested it, assume it’s not working until proven otherwise.
- Doing a one-time check and calling it maintenance. Gates wear continuously. A single inspection in January doesn’t protect the system through a Pleasanton August. The log exists for a reason.
If you want a full maintenance pass including the items above, a gate installation in Pleasanton specialist can also inspect components that aren’t on this checklist – control board connections, photocell alignment, and grounding integrity among them.
The 12-Month Maintenance Log: A Printable Format
The most useful thing a Pleasanton homeowner can hand a technician is a written record of what’s been checked and what’s changed. “It’s been acting weird” sends a tech on a diagnostic scavenger hunt. “The gate started pausing at the three-quarter point in March, and the limit switch was adjusted in February” narrows the problem immediately.
Here’s a twelve-month log format. Print it, keep it near the gate control box or in the garage, and write an entry every time you perform this checklist.
Monthly Log Entry Format:
Twelve months of this gives you something no verbal description can: a timeline of when problems started, what was done, and whether the fix held. When a technician arrives for Gate Repair Pleasanton home service, that log turns a diagnostic visit into a targeted repair, and it usually saves you an hour of labor.
Common Mistakes to Avoid
When to Call a Professional
Some of the items on this checklist are safe for a homeowner to perform: the battery test, the visual inspection, the lubrication. Others involve electrical components, high-tension chains, or structural hardware where a mistake makes the problem worse, and a couple – limit switch replacement, loop detector calibration, hinge post repair – require specialized tools and hands-on experience.
Call a professional when the gate moves erratically under power, when you hear grinding from the motor housing, when the limit switch fails your test more than once, when a hinge has visible play beyond the tolerance above, or when the gate post has shifted in the ground. These are not adjustment problems. They’re component failures, and the cost of a misdiagnosis is usually a more expensive repair later. Gate Repair Pleasanton offers free estimates in Pleasanton – call (833) 593-6440 and one of our dedicated gate technicians will assess the system and give you a written price before any work starts.
Frequently Asked Questions
Monthly for the limit switch test, and twice a year for the full checklist. Pleasanton’s temperature swings and clay soil movement mean components shift more than in coastal communities, and a monthly check catches limit switch degradation before it stresses the motor.
Repair costs in Pleasanton depend on the component. Battery replacement typically runs on the lower end, limit switch and loop detector calibration fall in the mid-range, and motor or control board replacement costs the most. Call (833) 593-6440 for a free estimate and exact pricing for your system and brand – quotes are provided before any work begins.
We prioritize emergency gate failures in Pleasanton and can usually dispatch a technician the same day. Call (833) 593-6440 and describe what the gate is doing – or not doing – and we’ll give you the soonest available appointment.
A full maintenance service typically includes limit switch testing and adjustment, battery backup load testing, loop detector sensitivity checks, chain or belt tension verification, hinge and pivot inspection, lubrication, and a written report of anything that needs attention. The maintenance log from this guide becomes your service record.
We service nine major gate brands, including LiftMaster, DoorKing, Elite, Mighty Mule, and others. Our technicians work across residential and commercial systems, so a Mighty Mule homeowner and a DoorKing property manager both get a specialist who knows the specific equipment.
It depends on the opener’s condition and the structural status of the gate itself. If the limit switch, battery, and hinges all pass this checklist and the gate operates smoothly, maintenance is worth continuing. If you’ve already replaced multiple components and the motor is showing strain, a gate installation in Pleasanton consult can help you compare repair costs against a new system – with a written quote for either path.
The Bottom Line
Gate maintenance in Pleasanton isn’t about lubrication. It’s about sequence: limit switches first, battery backup second, loop detectors third, tension and hinges after that, lubrication last. Follow that order and you address the components that cause the most failures before they become emergencies. Keep the log, run the tests monthly and semi-annually, and when a component fails beyond adjustment, call (833) 593-6440 for a free estimate from a dedicated gate specialist who works on LiftMaster, DoorKing, Elite, Mighty Mule, and five other major brands. Explore our more guides & resources for ongoing maintenance tips. Get your gate moving again – and keep it moving.
Written by the team at Gate Repair Pleasanton, serving Pleasanton since 2016.
See the difference
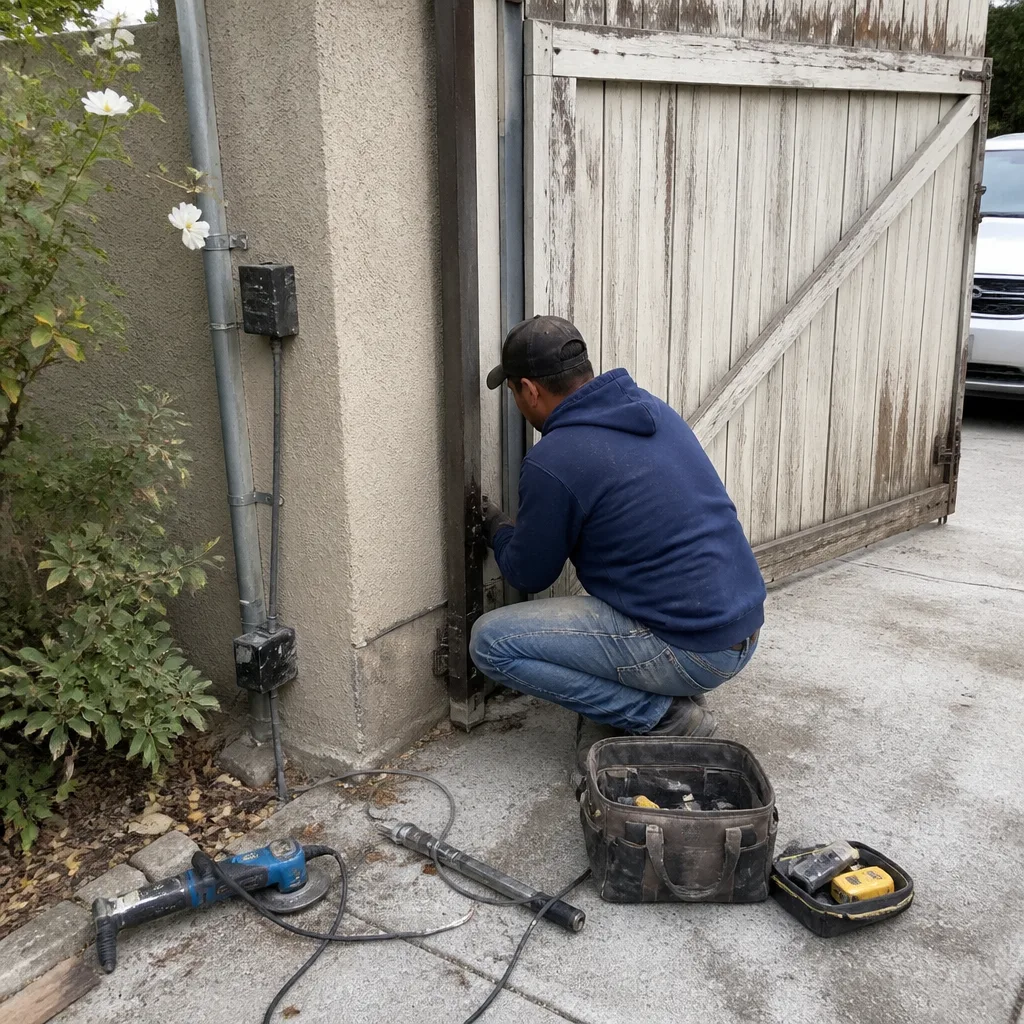 Before
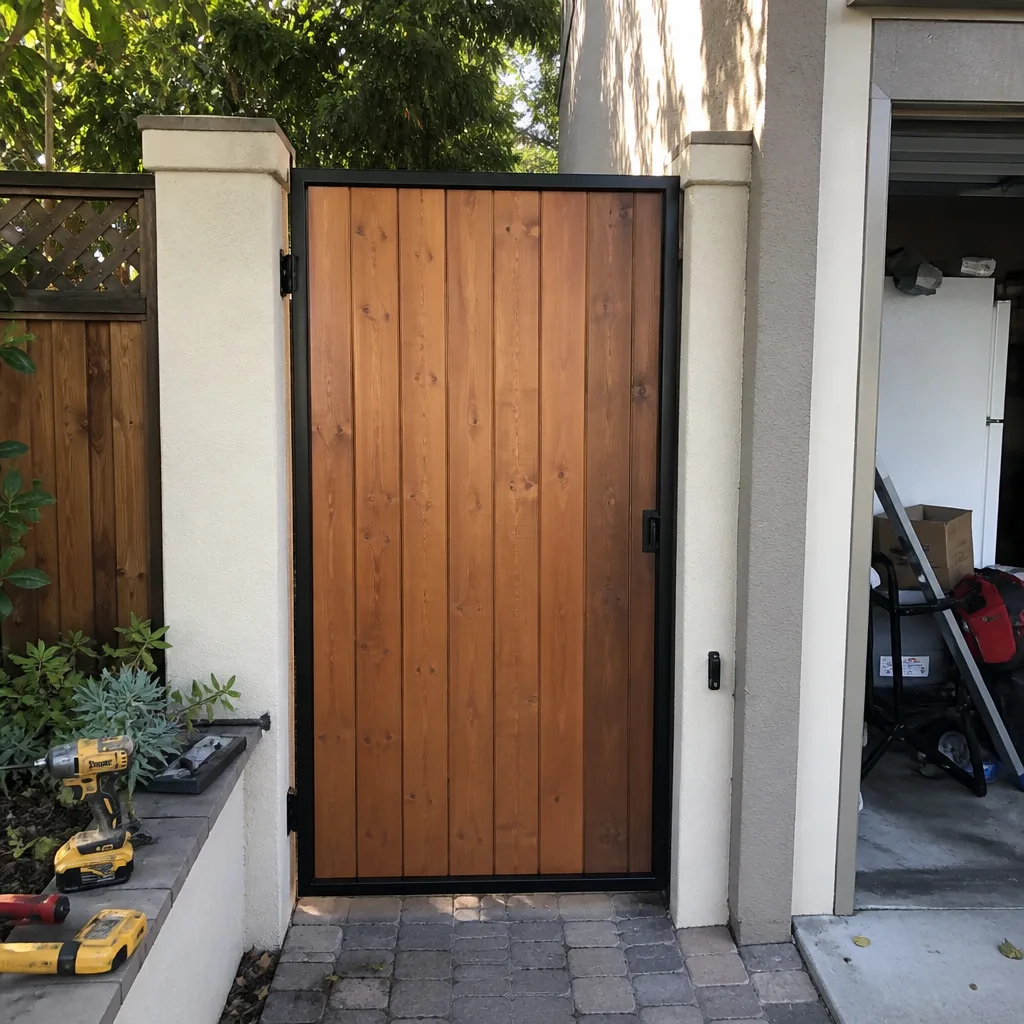 After
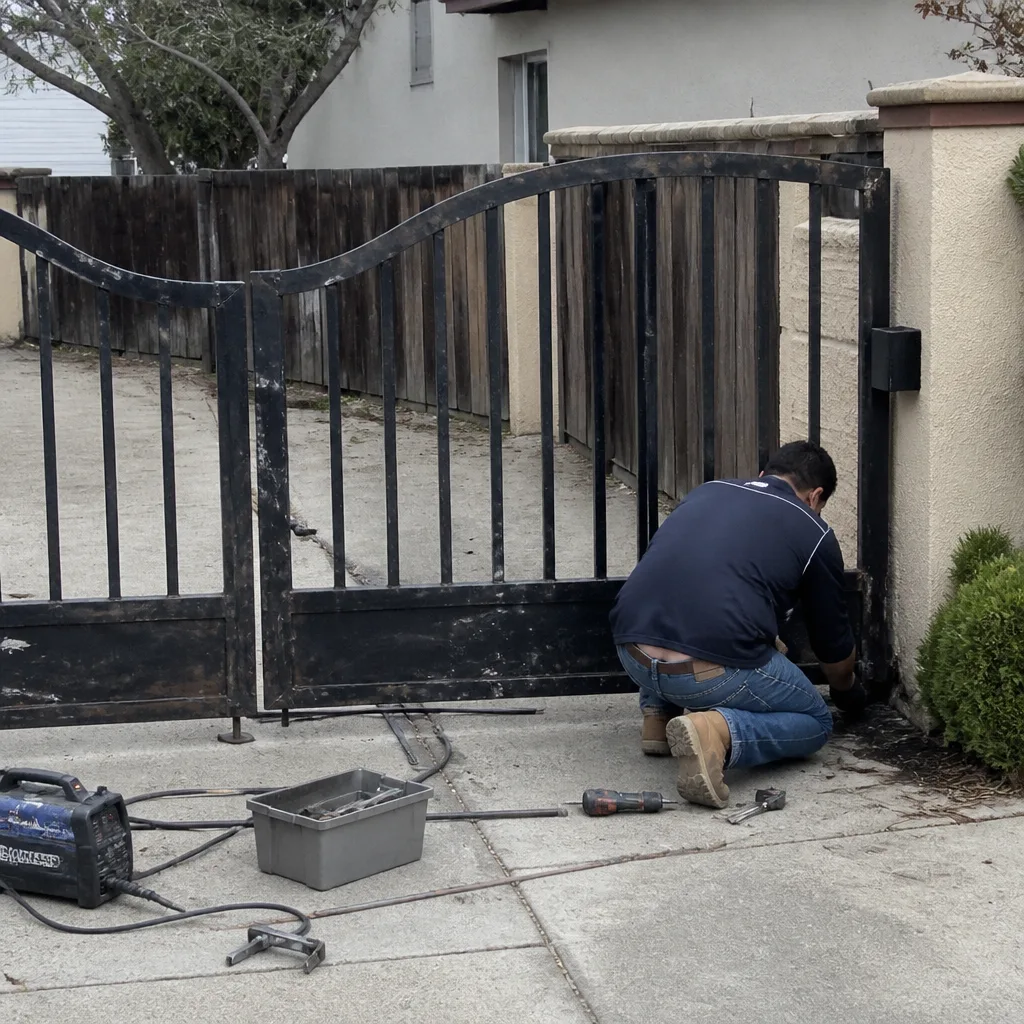 Before
 After
 Before
 After