
Last updated November 2, 2026
 Wrought iron
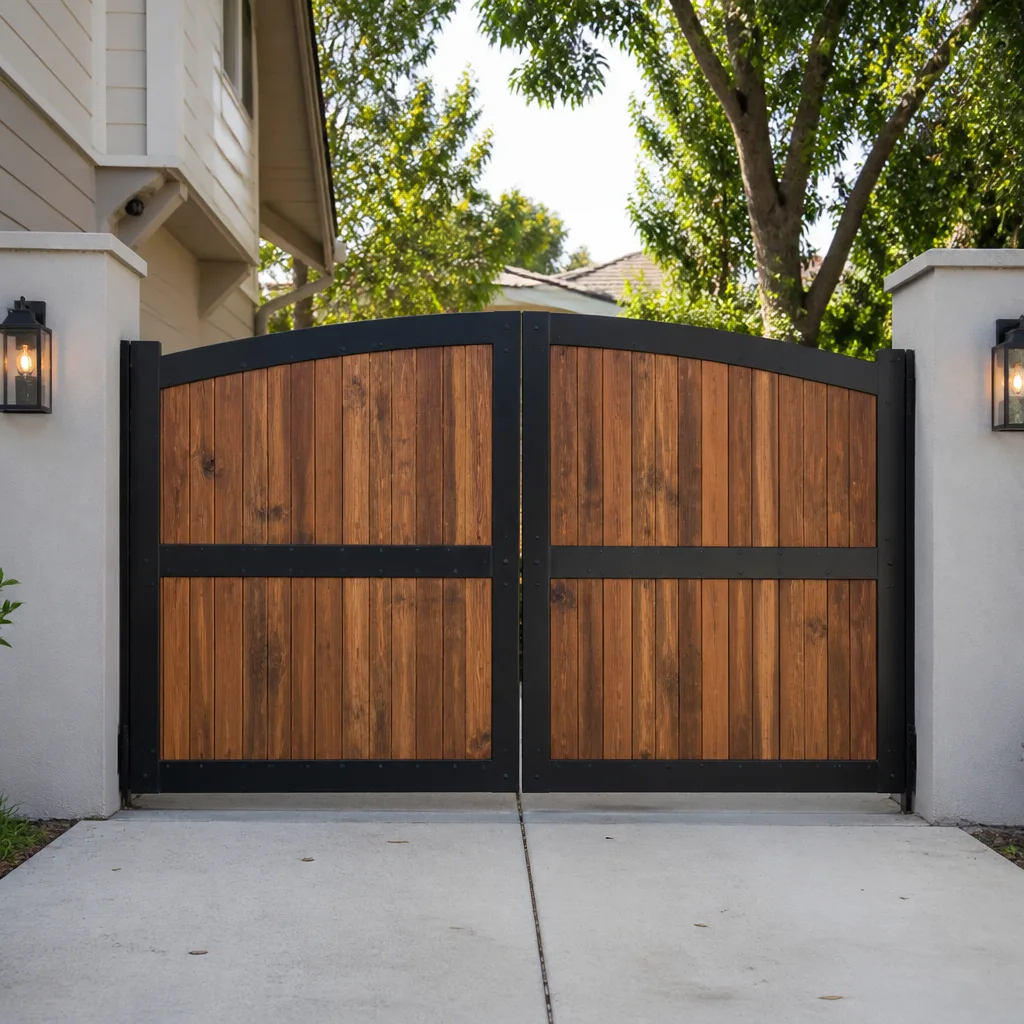 Wood & steel frame
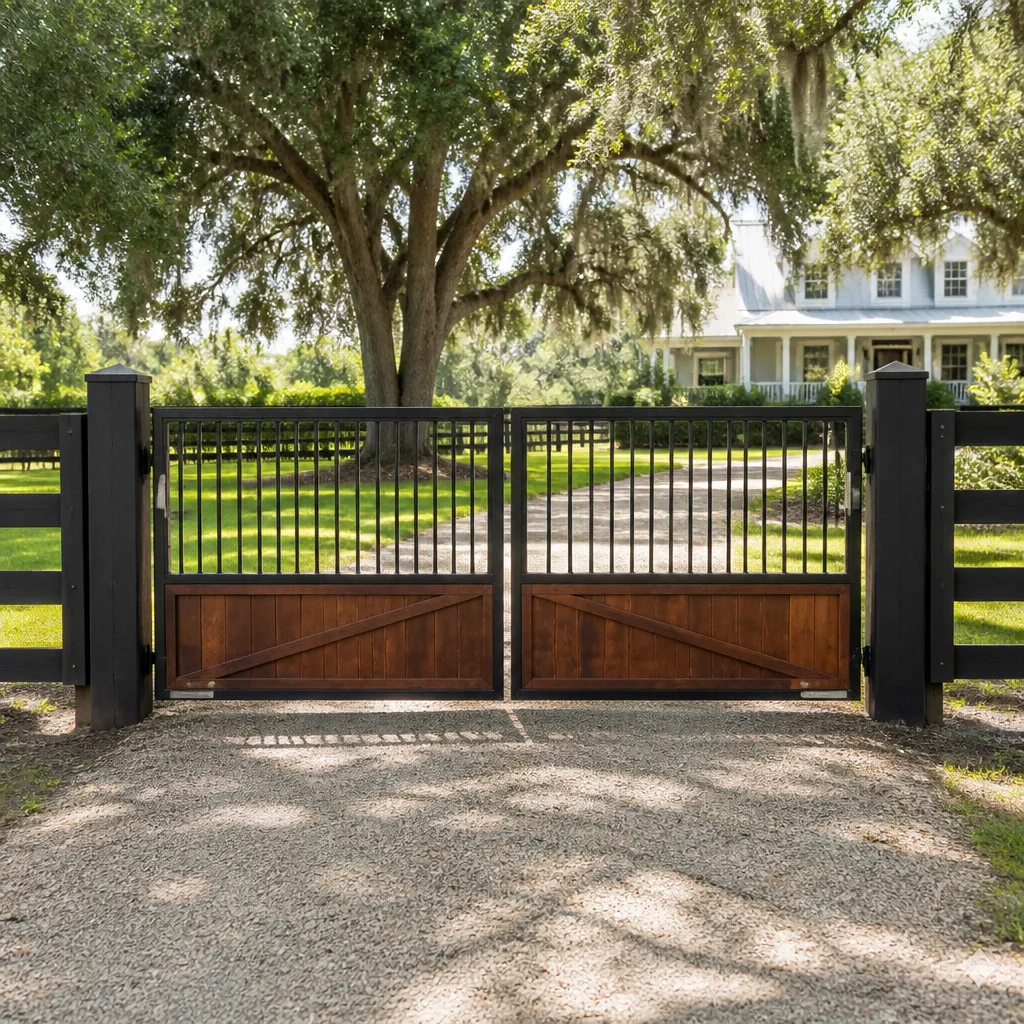 Farm & ranch
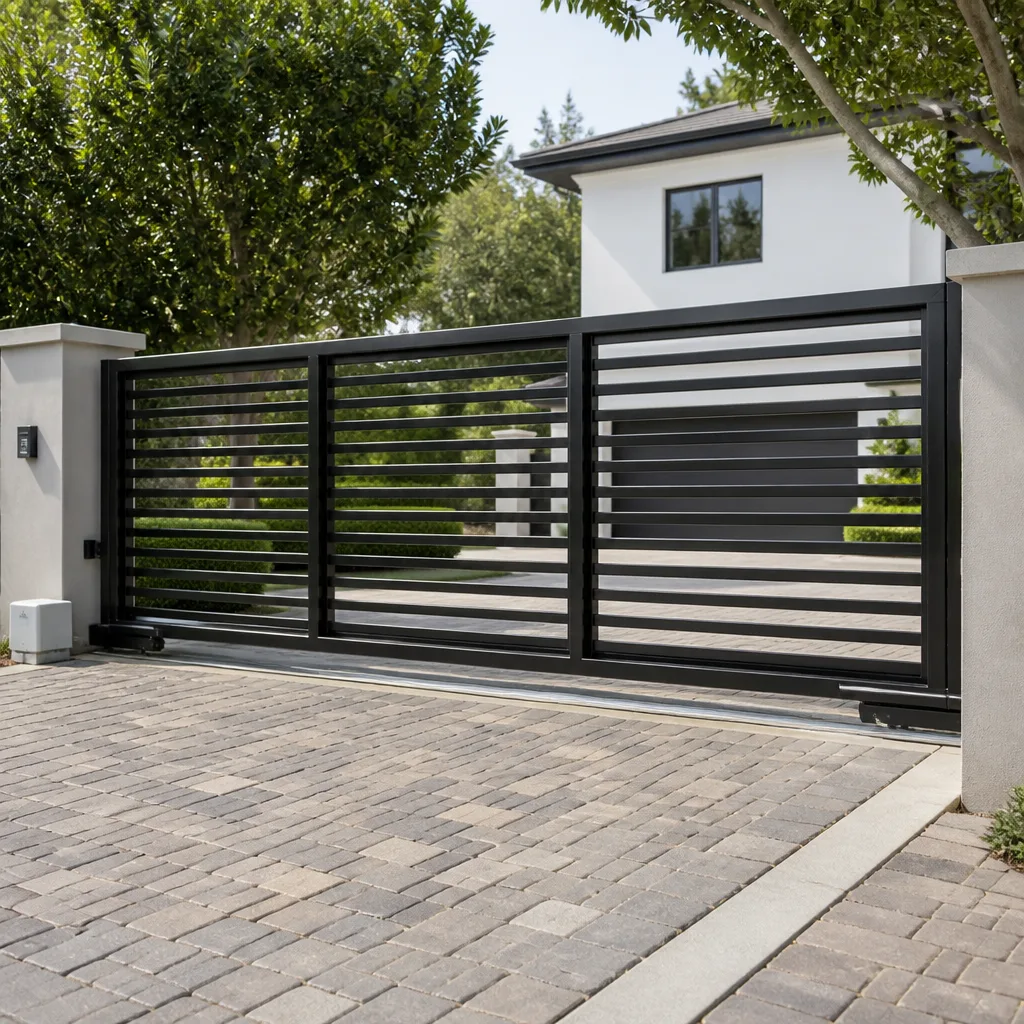 Sliding driveway gates
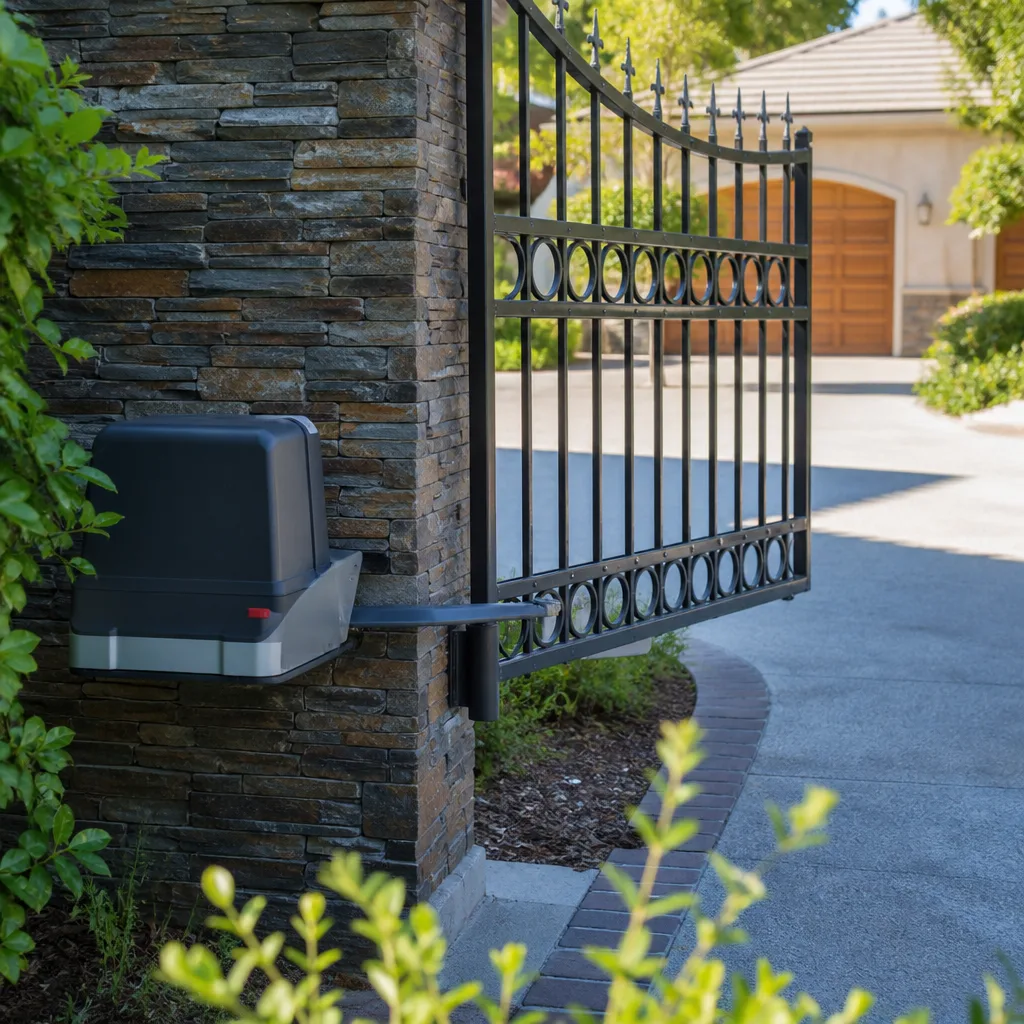 LiftMaster operators
Free on-site gate assessment - hinges, posts, and your LiftMaster or Nice gate operator checked before anything is quoted
The assessment is free and the quote is the invoice.
Get your free estimateGate Repair Troubleshooting: Common Problems and How to Fix Them
Most gate failures are not motor failures. In our experience working on automatic gates across Pleasanton, we find that roughly seven out of ten “dead gate” calls come down to a power issue, a tripped sensor, or a control board that lost its programming, not a burned-out motor. The single most expensive troubleshooting mistake we see is a homeowner (or a generalist repair tech) replacing a $300 control board before checking whether the gate has a dedicated, properly grounded circuit, a fix that costs nothing but ten minutes with a multimeter. This guide gives you the diagnostic sequence we use on every our Gate Repair services call, from a Mighty Mule on a backyard fence to a Viking commercial operator at a Pleasanton business park. You’ll learn what to check first, what the fault codes actually mean, and when a problem genuinely needs a specialist’s hands.
Styles & brands we work with
- Wrought iron
- Wood & steel frame
- Farm & ranch
- Sliding driveway gates
- LiftMaster operators
Quick Answer
Gate repair troubleshooting follows a four-layer sequence: check power supply first, then control inputs, then the mechanical drivetrain, then safety sensors. The most common fixable problems are a tripped GFCI outlet, a dead remote battery, a misaligned photo eye, or a control board that needs a hard reset. Skipping the sequence, especially jumping straight to the motor or board, is what turns a $6 fuse replacement into a $400 board swap.
Table of Contents
- The Four-Layer Diagnostic Sequence (And Why Order Matters)
- Layer 1: Power Supply Problems
- Layer 2: Control Inputs and Logic Board Checks
- Layer 3: Mechanical Drivetrain Failures
- Layer 4: Safety Sensor Faults
- Brand-Specific Fault Codes: LiftMaster, DoorKing, and Elite
- Won’t Move vs. Moves Wrong: Two Separate Diagnostic Paths
- Common Mistakes to Avoid
- When to Call a Professional
- Frequently Asked Questions
- The Bottom Line
The Four-Layer Diagnostic Sequence (And Why Order Matters)
Every gate system, whether it’s a residential LiftMaster swing arm or a commercial BFT slide operator, is built from four layers that depend on each other in a strict hierarchy. Power feeds the controls. Controls drive the motor. The motor moves the mechanical assembly. Sensors watch the gate and report back to the controls. When one layer fails, everything downstream looks broken, which is why so many amateur diagnoses point at the wrong layer.
Here is the sequence we use on every service call in Pleasanton, and the one you should follow before touching a single component:
- Power supply: Is the operator receiving voltage? Check the outlet, breaker, GFCI, and any battery backup. This takes five minutes and costs nothing.
- Control inputs: Is the control board receiving commands from remotes, keypads, and hardwired buttons? Is the board outputting voltage to the motor?
- Mechanical drivetrain: Are the hinges, rollers, chains, belts, or gearboxes physically able to move? Can the gate swing or slide by hand (with power disconnected)?
- Safety sensors: Are the photo eyes, edge sensors, or loop detectors signaling “clear” to the control board, or are they falsely reporting an obstruction?
The cost of skipping ahead is real. We’ve replaced control boards in Pleasanton where the actual fault was a corroded wire nut on a 12-volt supply line. In our experience at Electric Gate Repair in Pleasanton service calls, a disciplined power-first check resolves more than a third of failures without touching the operator at all.
Layer 1: Power Supply Problems
Automatic gates in Pleasanton run on one of three power configurations: direct 110-volt AC, low-voltage DC from a transformer, or solar with battery storage. Each fails in its own way, and each produces a different set of symptoms.
AC-powered operators (most LiftMaster, FAAC, and BFT residential units):
- Symptom: Gate completely dead, no lights on the board, no click from the relay.
- Check: Is the outlet GFCI tripped? Pleasanton’s older neighborhoods, especially around the downtown corridor, have outdoor circuits that trip during rain or irrigation cycles.
- Check: Is the breaker labeled “gate” or “exterior” switched off? A dedicated circuit is code-required for gate operators in most Alameda County jurisdictions.
- Check: Is the power cord physically intact? Weed trimmers and landscapers frequently nick low-mounted cords.
Low-voltage and solar systems (many Ghost Controls and Mighty Mule units):
- Symptom: Gate moves slowly, beeps repeatedly, or stops mid-cycle.
- Check: Battery voltage with a multimeter. A healthy 12-volt battery reads 12.6 to 12.8 volts. Anything under 12.0 means the battery is dead or the charging circuit has failed.
- Check: Solar panel output on a sunny Pleasanton afternoon. A 10-watt panel should produce 17 to 20 volts open-circuit.
- Check: Transformer output at the board terminals. If the transformer reads 0 volts, the board is not the problem.
One Pleasanton-specific note: our hot, dry summers are hard on lead-acid batteries in solar gate operators. A battery that sits in direct sun all day in a metal enclosure can cook in two seasons. If your solar gate was fine all spring and starts failing in June, test the battery first.
Layer 2: Control Inputs and Logic Board Checks
Once power is confirmed at the board, the next question is whether the board knows what it should be doing. Control boards fail in two ways: they don’t receive commands, or they receive commands but don’t act on them.
Testing remote and keypad inputs:
- Press the hardwired open/close button on the control board itself (if equipped). If the gate responds, the board, motor, and power are fine. The problem is upstream in the remote or keypad.
- Check remote battery voltage. A 3-volt coin cell under 2.8 volts is dead enough to cause intermittent failure.
- Check that the keypad is actually wired to the board (not just mounted nearby) and that the wire nuts aren’t corroded.
- Try a known-good remote from the same brand. LiftMaster remotes don’t talk to FAAC receivers, and vice versa.
Testing board output with a multimeter:
This is the test that separates a gate specialist from a guesser. Set a basic digital multimeter to DC voltage. Locate the motor output terminals on the control board (labeled M+, M-, or MOTOR on most boards). Press the open command and watch the reading:
- Full voltage at the motor terminals (typically 12, 24, or 120 volts DC depending on the system) means the board is working and the problem is mechanical or in the motor.
- Zero or clipped voltage with an audible relay click means the board is trying to drive the motor but something is blocking it, often a seized gearbox or a shorted motor.
- Zero voltage with no relay click means the board is either not receiving the command, stuck in a fault condition, or has failed.
- Symptom: Gate groans, strains, or stalls halfway through its arc.
- Check: Hinge lubrication and alignment. A sagging gate post moves the hinge axis out of plumb, which makes the gate fight gravity on every cycle.
- Check: The operator arm attachment point. Loose bolts on a FAAC or BFT actuator produce a knocking sound that’s easy to mistake for a motor bearing.
- Check: The gate’s own weight. Warped steel or a waterlogged wooden gate can exceed the operator’s rated capacity.
- Symptom: Gate shudders, stops, or reverses mid-travel.
- Check: Roller bearings. Flat spots or seized bearings multiply the force the motor has to produce.
- Check: Chain or belt tension. A slack chain can jump a sprocket tooth and throw the gate out of alignment.
- Check: The track for debris. Pleasanton’s dry winds push leaves and gravel into track channels, especially in the fall.
- Look at the photo eyes mounted on either side of the gate opening. Most have a small LED indicator.
- If one LED is red or flashing (instead of solid green), the beam is not making it across.
- Gently tap the sensor heads back into alignment while watching the LED.
- If the LED turns solid green, close the gate. Most of the time, the problem is solved.
- Edge sensors: The rubber strip along the leading edge of the gate contains a pressure-sensitive conductor. A tear or pinch point creates a false obstruction signal.
- Loop detectors: Underground loops buried in the driveway detect vehicle presence. A broken loop wire (common after re-paving or utility work) causes the gate to behave unpredictably.
- Reflective photo eyes: Some systems use a reflector on one side instead of a powered receiver. A dirty or fogged reflector on a foggy Pleasanton morning will stop the gate from closing.
- One blink, one second pause, repeating: Photo eye beam is interrupted or misaligned. Do the 10-second test above.
- Two blinks: Force reversal. The gate hit an obstruction twice in a row and the operator has locked out. Check the gate’s travel path for debris, then press and hold the reset button on the operator.
- Three blinks: Motor overheat. The thermal protector has tripped. Let the operator cool for 15 to 20 minutes, then check the gate’s movement by hand. A gate that’s binding is overworking the motor.
- Four blinks: RPM sensor failure. The operator can’t verify motor rotation. On LiftMaster units, this usually means a failed RPM sensor module, not a motor replacement.
- Display showing “SENSE FAULT” or “LOOP FAULT”: A loop detector input is active when it shouldn’t be. This often happens after rain saturates a cracked loop sealant. Let the area dry, then reset the loop detector.
- Display showing “OBSTRUCTION”: The gate encountered resistance during travel. Check the track, rollers, and edge sensors.
- Display showing “EXIT LOOP OPEN” or “SAFETY LOOP OPEN”: The loop circuit is electrically open. The wire is broken somewhere between the board and the loop. This is a repair that involves digging unless a surface-mounted loop was used.
- Flashing red LED on the control board, no gate movement: The board is in a hard fault condition. Count the flashes against the chart on the inside of the enclosure door. Common codes indicate a missing limit switch signal, a downed photo eye, or a tripped motor overload.
- Continuous green LED that turns red when a command is sent: The board is receiving the command and attempting to fire the motor contactor. If the gate doesn’t move, check the contactor, motor capacitor, and motor windings.
- Five rapid flashes, pause, repeat: On many Elite boards, this is an interlock fault, meaning one of the safety inputs is open. Check all wiring to the photo eyes, edge sensors, and any external interlock switches.
- No power to the operator (breaker, GFCI, dead battery, failed transformer).
- A safety input holding the board in lockout (misaligned photo eye, stuck button, active loop detector).
- A dead remote or keypad, or a remote that’s lost its programming.
- A control board in a fault condition that requires a manual reset.
- A genuinely failed motor or gearbox (the least common of the five).
- Low voltage at the motor (weak battery, undersized transformer, voltage drop on a long wire run).
- Mechanical binding (dry hinges, seized roller, debris in the track, bent guide rail).
- Obstruction sensor false tripping mid-travel (edge sensor tear, photo eye misalignment that occurs only when the gate is in a certain position).
- Limit switch failure (gate doesn’t know where to stop, so it overtravels or stops short).
- Motor capacitor failure on AC units (gate hums but doesn’t start moving, or starts slowly).
- Replacing the control board first. Boards are expensive, and failed boards are less common than power or sensor problems. Testing power and inputs costs nothing and resolves most “dead gate” calls without a single part purchase.
- Ignoring the release handle position. Many operators have a manual release that disengages the gate from the drive mechanism. If the release is open, the gate will move manually but the motor will spin uselessly. Check the release lever before anything else mechanical.
- Lubricating the track on a slide gate. Slide gate tracks should be clean and dry. Grease attracts dust and Pleasanton’s fine, windy grit, creating a paste that makes the gate harder to move.
- Misinterpreting a blown fuse as a board failure. The fuse is a symptom, not a cause. A fuse blows because something downstream shorted or overloaded. Replace the fuse, but find the short before re-energizing.
- Resetting the breaker without investigating. A breaker that trips once is a curiosity. A breaker that trips twice in the same week is a fault. Repeated tripping on an outdoor circuit, common on older Pleasanton properties with original wiring, needs a proper look.
- Using a generic remote to replace a brand-specific one. LiftMaster, FAAC, BFT, and Linear receivers use different frequencies and protocols. A universal remote only works if it’s explicitly compatible with the receiver it’s pairing to.
- Replacing the motor without testing voltage at the motor terminals. Motors fail, but so do motor capacitors, contactors, relays, and wiring. A voltage test at the terminals tells you which component actually failed. Skipping it is how a $30 capacitor repair becomes a $500 motor replacement.
Do this test with the gate disconnected from the drive mechanism if possible. A seized gearbox can burn out a healthy board in seconds when it tries to drive an immovable load. This is also the point where you check whether the operator is still under warranty. Opening the board enclosure and probing terminals may void some manufacturer warranties, so check before you commit.
If you’re not comfortable with a multimeter on a live board, this is exactly the kind of diagnostic we do every day as part of gate repair service. A board-level diagnosis is cheaper than a blind board replacement.
Layer 3: Mechanical Drivetrain Failures
With power confirmed and the board outputting voltage, the next layer is the stuff that actually moves. Mechanical failures are the slowest to develop and the easiest to spot if you know what to listen for.
For swing gates (the dominant style in Pleasanton residential neighborhoods like Birdland and Val Vista):
For slide gates (more common on Pleasanton commercial properties and larger lots):
For both types:
Disconnect the operator from the gate (there’s usually a release lever or pin) and try moving the gate by hand. A gate that swings smoothly by hand but stalls under power points to an undersized operator or a motor problem. A gate that’s hard to move by hand points to the mechanical layer, hinges, rollers, track alignment, or a bent frame member.
Layer 4: Safety Sensor Faults
Safety sensors are the most misdiagnosed component on automatic gates, full stop. When a photo eye is misaligned or an edge sensor is pinched, the control board receives an obstruction signal and refuses to close the gate, or opens it right back up after closing. To the homeowner, it looks like a motor problem. To a gate specialist, it looks like a ten-second field test.
The 10-second photo eye test:
Photo eye misalignment happens for mundane reasons: a wind gust knocked a sensor bracket, a gate post shifted in wet weather, or a gardener bumped the housing. Pleasanton’s clay-heavy soil expands and contracts through the year, and we see a spike in sensor faults every winter after the first sustained rains.
Other sensor-layer items to check:
Never bypass a safety sensor to “fix” a gate. These sensors exist because an automatic gate that closes on a person, a pet, or a car is a serious injury risk. A gate that won’t close is an inconvenience. A gate that closes on something it shouldn’t is a liability, and a real gate specialist will never defeat a safety device to make a system “work.”
Brand-Specific Fault Codes: LiftMaster, DoorKing, and Elite
Modern gate operators run self-diagnostics and report faults through blinking LEDs or alphanumeric displays. Knowing what the system thinks is wrong is the fastest path to a correct fix. Here are the codes we see most often in Pleasanton.
LiftMaster residential and light-commercial operators:
DoorKing (common on multi-unit residential properties in Pleasanton):
Elite commercial slide gate operators:
Fault codes vary by model year and firmware revision. If you’re working on a LiftMaster, FAAC, or BFT system and the code doesn’t match anything above, the manual is the next stop. If the board has been replaced with an aftermarket retrofit from another brand, the codes may not correspond to anything at all, and you’ll need a specialist who can diagnose by signal trace rather than by chart. That’s the kind of work we handle on our Gate Repair Pleasanton home service calls regularly.
Won’t Move vs. Moves Wrong: Two Separate Diagnostic Paths
Here’s a distinction that saves hours of wasted effort: a gate that won’t move at all and a gate that moves wrong (slowly, partially, erratically, or in the wrong direction) are two different problems. They share almost no overlap in root causes.
The “won’t move” path: Something is preventing the system from initiating. The most common causes, in order of frequency:
The “moves wrong” path: The system is initating, but something is interfering with proper operation. The most common causes:
In our experience, the “moves wrong” path is where non-specialist repair attempts go sideways. A gate that’s slow to start is usually a capacitor or a battery issue, not a motor replacement. A gate that stops at the wrong position is usually a limit switch. These are component-level repairs that a dedicated gate technician handles in a single visit.
Common Mistakes to Avoid
When to Call a Professional
Some gate problems are safe and reasonable to solve yourself: a tripped breaker, a dead remote battery, a clearly misaligned photo eye, a dirty reflector. But some situations call for a specialist, and delaying the call makes the repair more expensive.
Call a gate professional when: the operator is on a commercial property with controlled access; the fault involves line-voltage wiring or a motor capacitor (which stores a charge even when power is off); the gate is heavy enough that manual operation risks injury; the control board shows a fault code you can’t match to the manual; or you’ve already replaced a fuse or reset a breaker and the fault has returned. Gate Repair Pleasanton offers free estimates in Pleasanton, call (833) 593-6440, and we’ll give you a straight answer on whether the job needs a part, a repair, or a full replacement. Get your gate moving again without wondering if it’ll fail tomorrow.
Frequently Asked Questions
Gate repair in Pleasanton typically runs from $150 for a simple sensor realignment or remote reprogramming up to $800 or more for a control board replacement or motor rebuild, with most mid-range repairs like limit switch replacement or hinge work landing between $250 and $450. The price is quoted and agreed before any work starts, so there’s no surprise invoice at the end. Call (833) 593-6440 for an exact quote, estimates are free.
We prioritize repair calls based on whether the gate is a security issue (stuck open) or a convenience issue (stuck closed but property is accessible), and many Pleasanton residential repairs are completed the same day the call comes in. The fastest way to get a same-day slot is to call (833) 593-6440 in the morning with a description of the symptom.
We service LiftMaster, FAAC, BFT, Linear, Viking, Ghost Controls, DoorKing, Elite, and Mighty Mule operators, covering both residential and commercial systems. Our diagnostic process is brand-agnostic, which means we trace the fault by signal and voltage behavior rather than defaulting to a full system replacement because we don’t recognize the board. If you’ve got a gate operator from one of these nine brands, we can diagnose it.
In almost every case, a gate that opens but won’t close is being blocked by a safety sensor that’s falsely reporting an obstruction, most commonly a misaligned photo eye, a torn edge sensor, or a dirty reflector. The control board is doing exactly what it’s designed to do: refusing to close the gate when it can’t verify the path is clear. Run the 10-second photo eye test before replacing anything.
It’s physically possible, and some boards are plug-and-play, but there are two risks: matching the replacement board to the operator’s exact model and firmware revision, and transferring the programming (limits, force settings, remote codes) to the new board without the manual. A mismatched board can destroy a motor, and an unprogrammed board leaves the gate unable to operate. If you’re not confident on both points, this is a job for a specialist.
Yes. We offer Gate Installation in Pleasanton for new or replacement gates and operators alongside our repair work, which means the same technician who diagnoses your failing system can also replace it correctly when the time comes. You don’t need separate vendors for the fix and the eventual upgrade, call (833) 593-6440 for a free estimate on installation or repair.
The Bottom Line
Gate troubleshooting is a sequence, not a guessing game. Power first, then controls, then mechanicals, then sensors. Every layer has its own fast tests that cost nothing and prevent expensive parts replacements. The most expensive mistake is replacing a control board before checking a fuse or a photo eye, and the most common misdiagnosis is calling a sensor fault a motor failure. When the sequence points to something you’re not equipped to handle, a focused gate specialist in Pleasanton can trace the fault in a single visit. For more guides & resources, explore our blog. We’re here for that call.
Written by the team at Gate Repair Pleasanton, serving Pleasanton since 2016.
See the difference
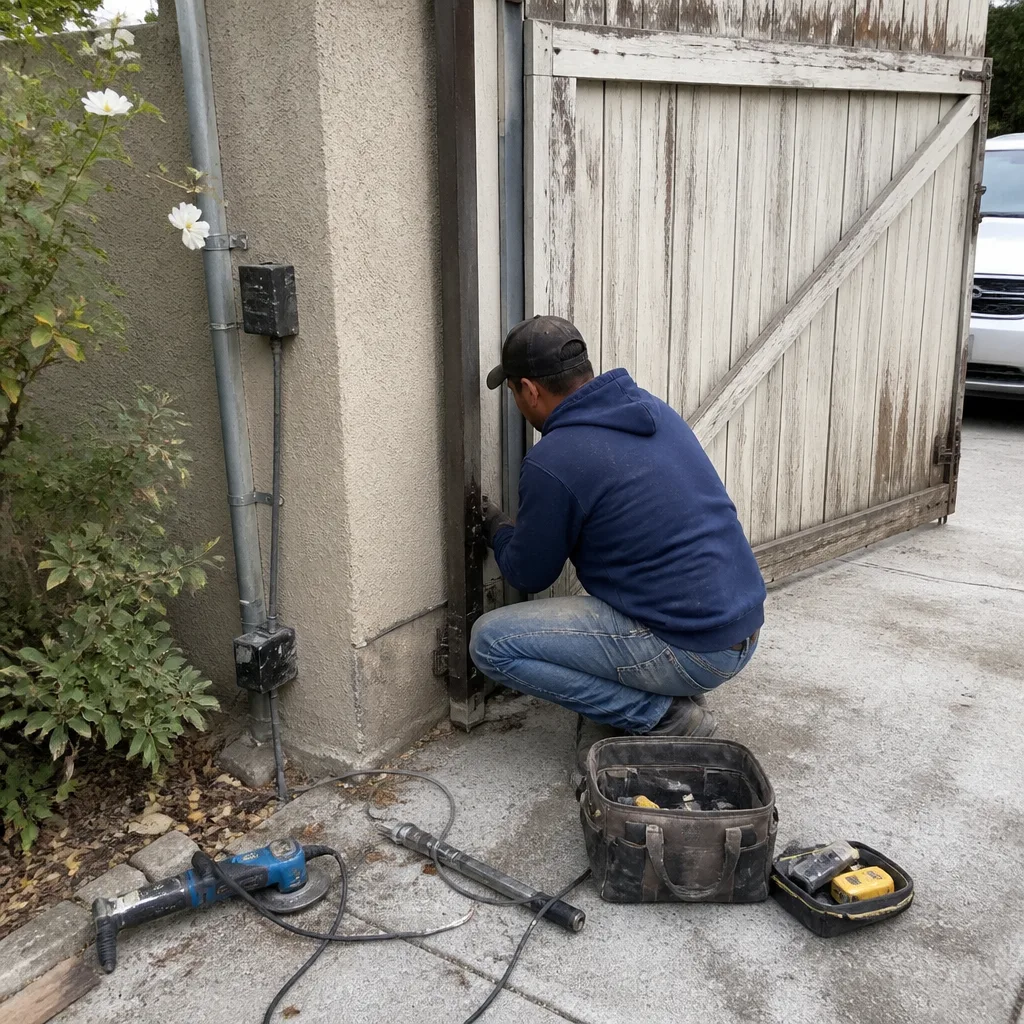 Before
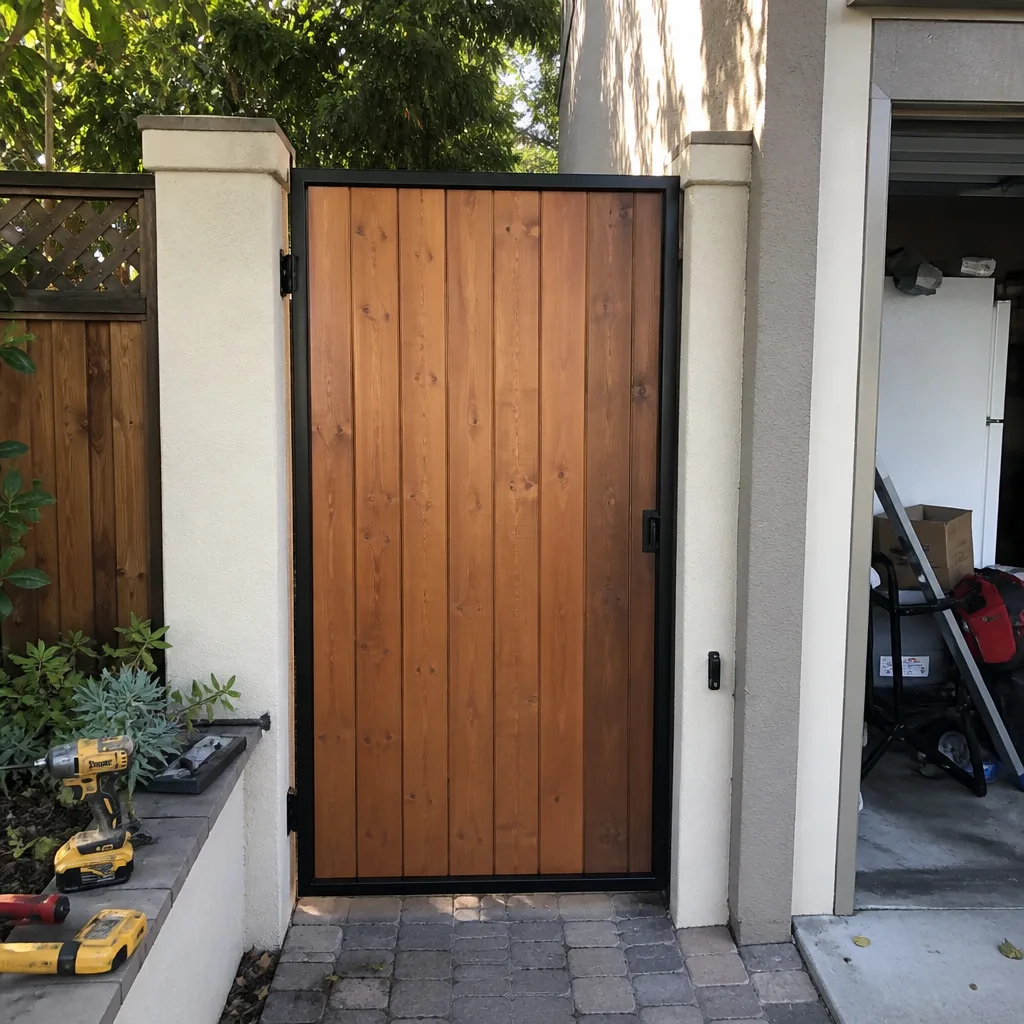 After
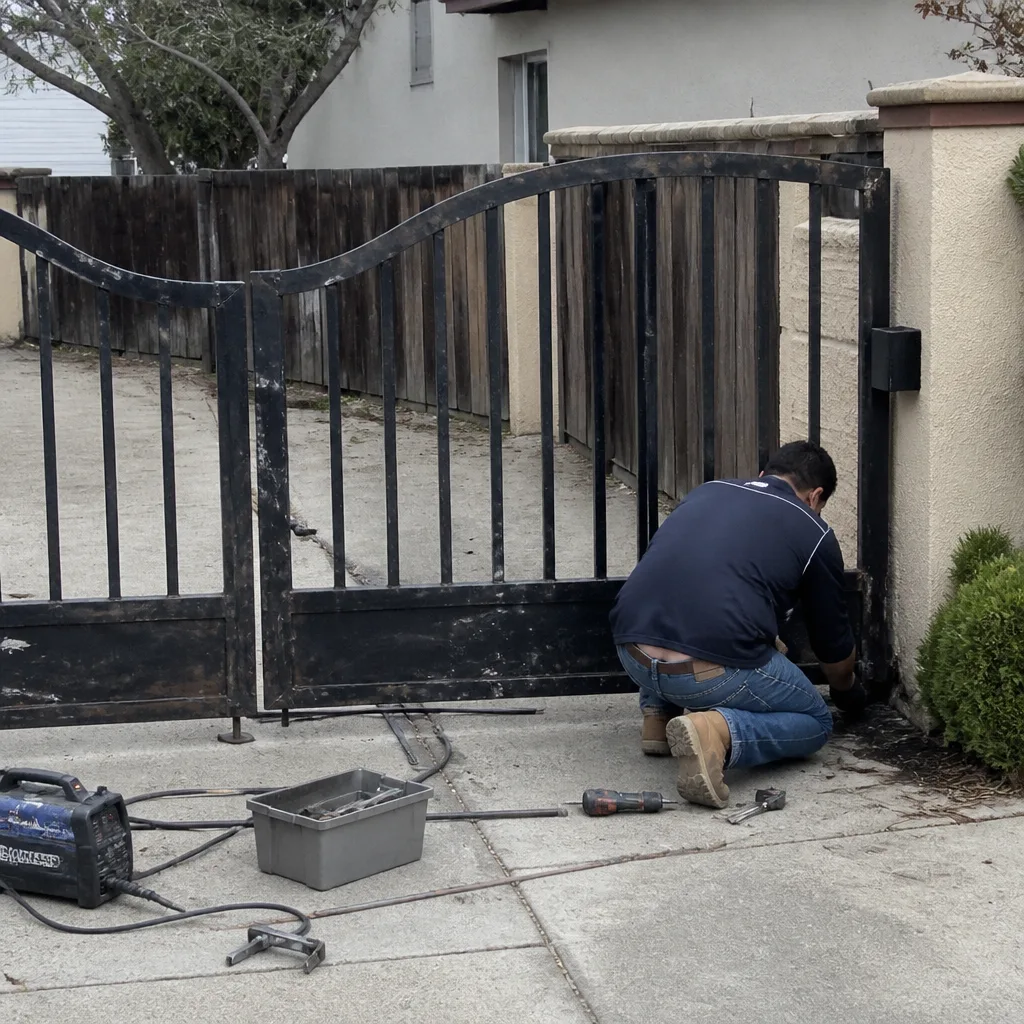 Before
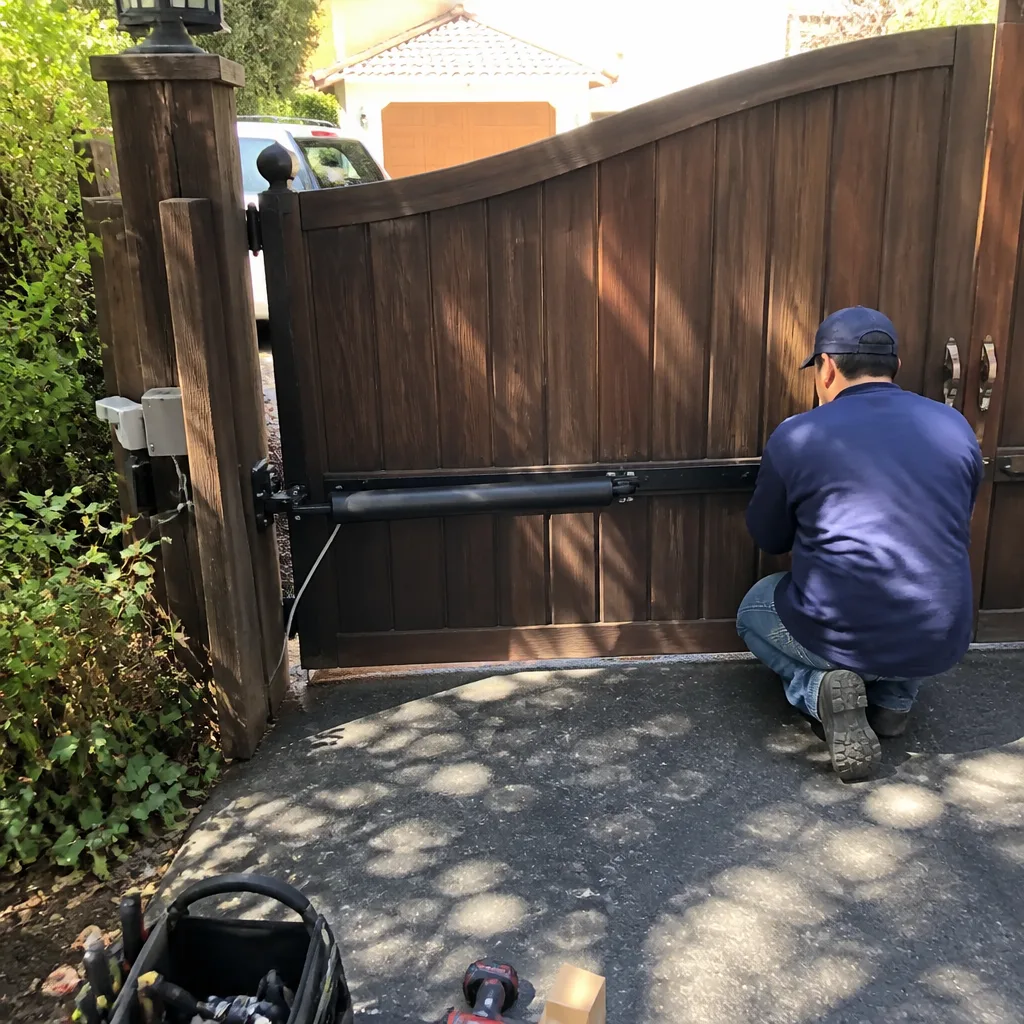 After
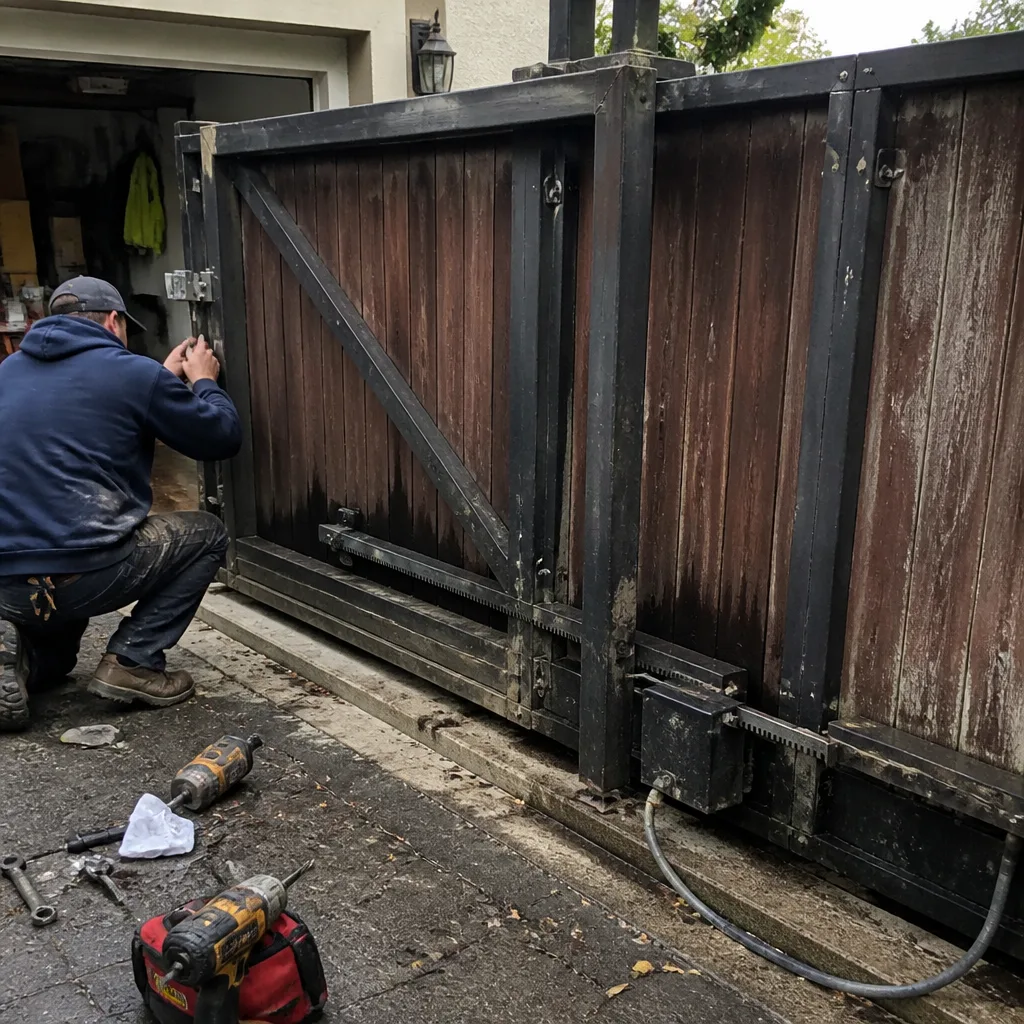 Before
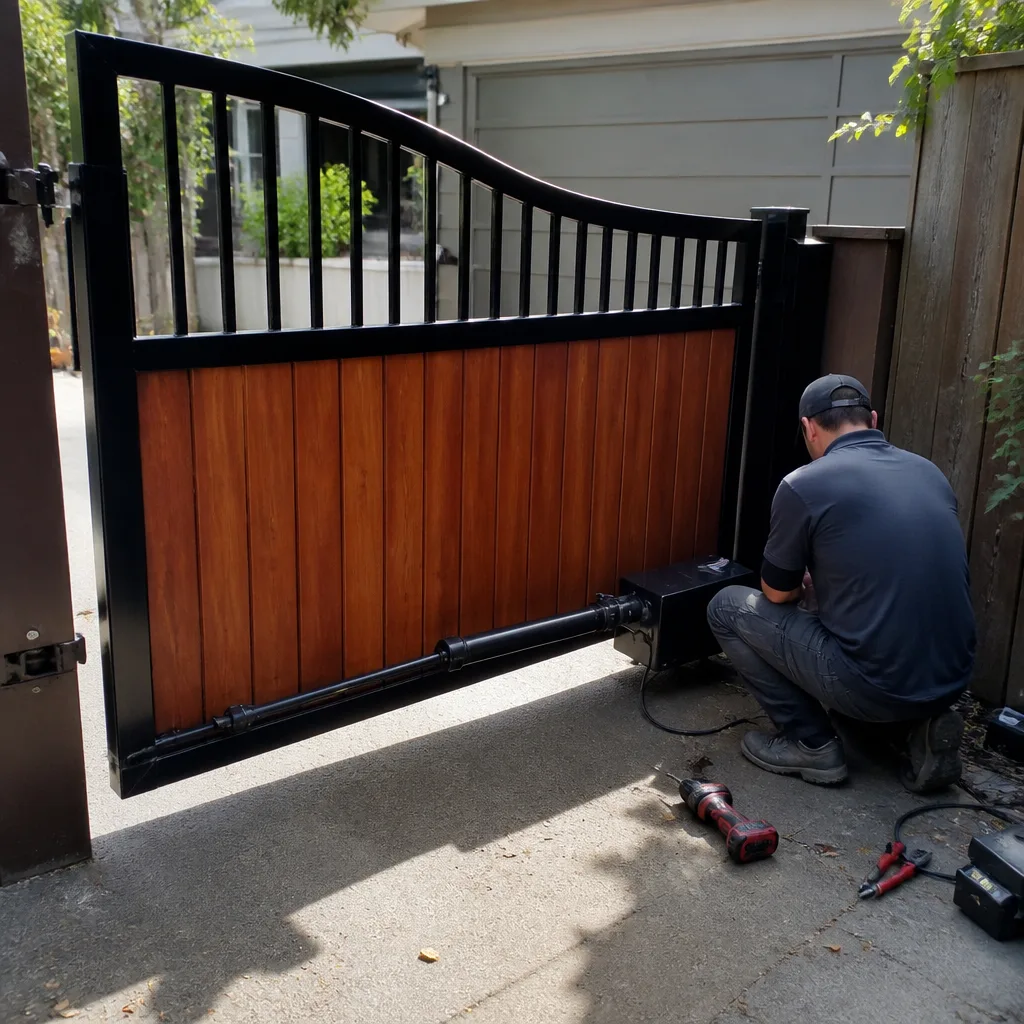 After